FormLetter
Generate 3D models based on 2D vector patterns, and export automatically calculated cutting paths.
Powerful and Easy-to-use
FormLetter is a ready-to-use software for preparing 3D printing files for our channel letter 3D printer.
It’s for everyone's usage without the 3D modeling skills needed.
Check how we design and 3D print specific channel letters
Step 01. Create a text logo, or import a vector pattern
Creat a text logo
In FormLetter we intergrated over 30 fonts for your choice.
Import a SVG file
If you have a certain pattern design, you can import it into the FormLetter channel letter 3D printing software.
FormLetter is compatible with SVG file format.
The SVG file format is supported by graphic designing software, like Illustrator, CorelDRAW, InkScape, etc.
Step 02. Choose the wall style
There are five built-in wall styles and total fifteen adjust options. You can also load your cutomized wall style SVG file to generate unique wall shape just for you.
There are endless possibilities for wall setting in formletter.
Step 03. Set the top edge style
You can choose to generate a rib or not.
The rib is for holding the acrylic panel.
Step 04. Set the bottom edge style
We offer five built-in bottom edge styles for the bottom edge design, total nine adjust options.
Step 05. Color settings
SoliFuse 3D printer can print with dual colors in one letter or in one print task.
In FormLetter, you can choose to print the two colors in different height with different filament.
The light transmission properties of the 3D printing filament will help you to control the translucent area of the letter.
Step 06. Export DXF format cutting paths
To cut the acrylic/foamed PVC panel to fit the letter, in FormLetter software we offered cutting path export features.
Four paths available
You can choose to export the top or bottom outlines of a letter, both inner and outer lines are available.
Set the fit clearance
Don't worry about the fit clearance, in FormLetter, you can set the scale value for each path. Both positive and negative values are available.
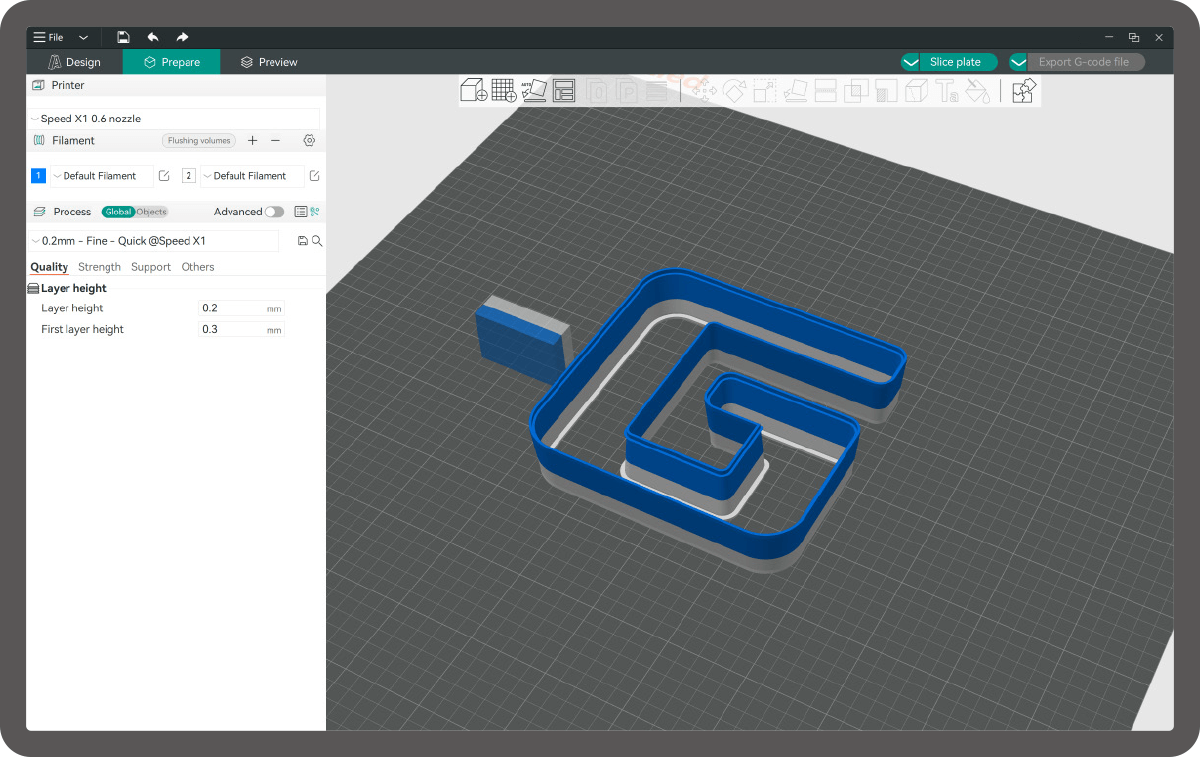
Step 07. Process in Slicer
Hit the button to process the channel letter models in 3D printing slicer module.
Step 08. Slice and Export the G-Code file
After choose the 3D printer model, set the filament type and 3D printing process presets, just click to slice and export the G-Code file for your 3D printer.
Now you are ready to 3D print the channel letter!

Consult an expert
Want to know more about our products? Please don’t hesitate to leave a message.


